System Administration
Each instance of Tangram Pro™ has at least one System Administrator. System Administrators can view and manage users, administer licenses, and change instance-wide settings for their Tangram Pro™ installation in the Admin Portal.
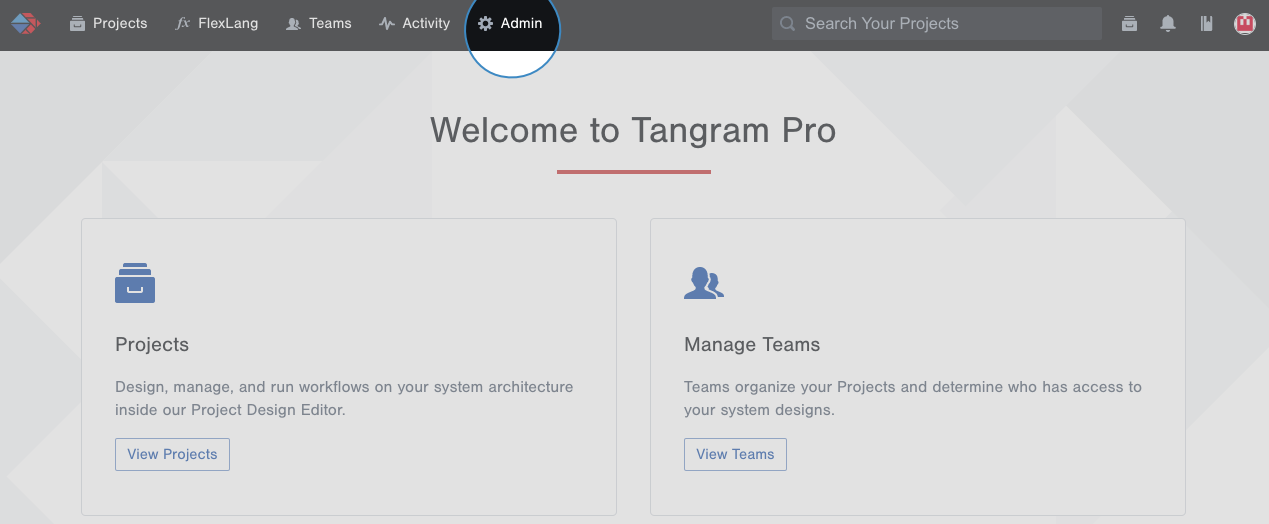
To access the Admin Portal
- Log in to Tangram Pro™ as a System Administrator
- Click on Admin in the navigation menu
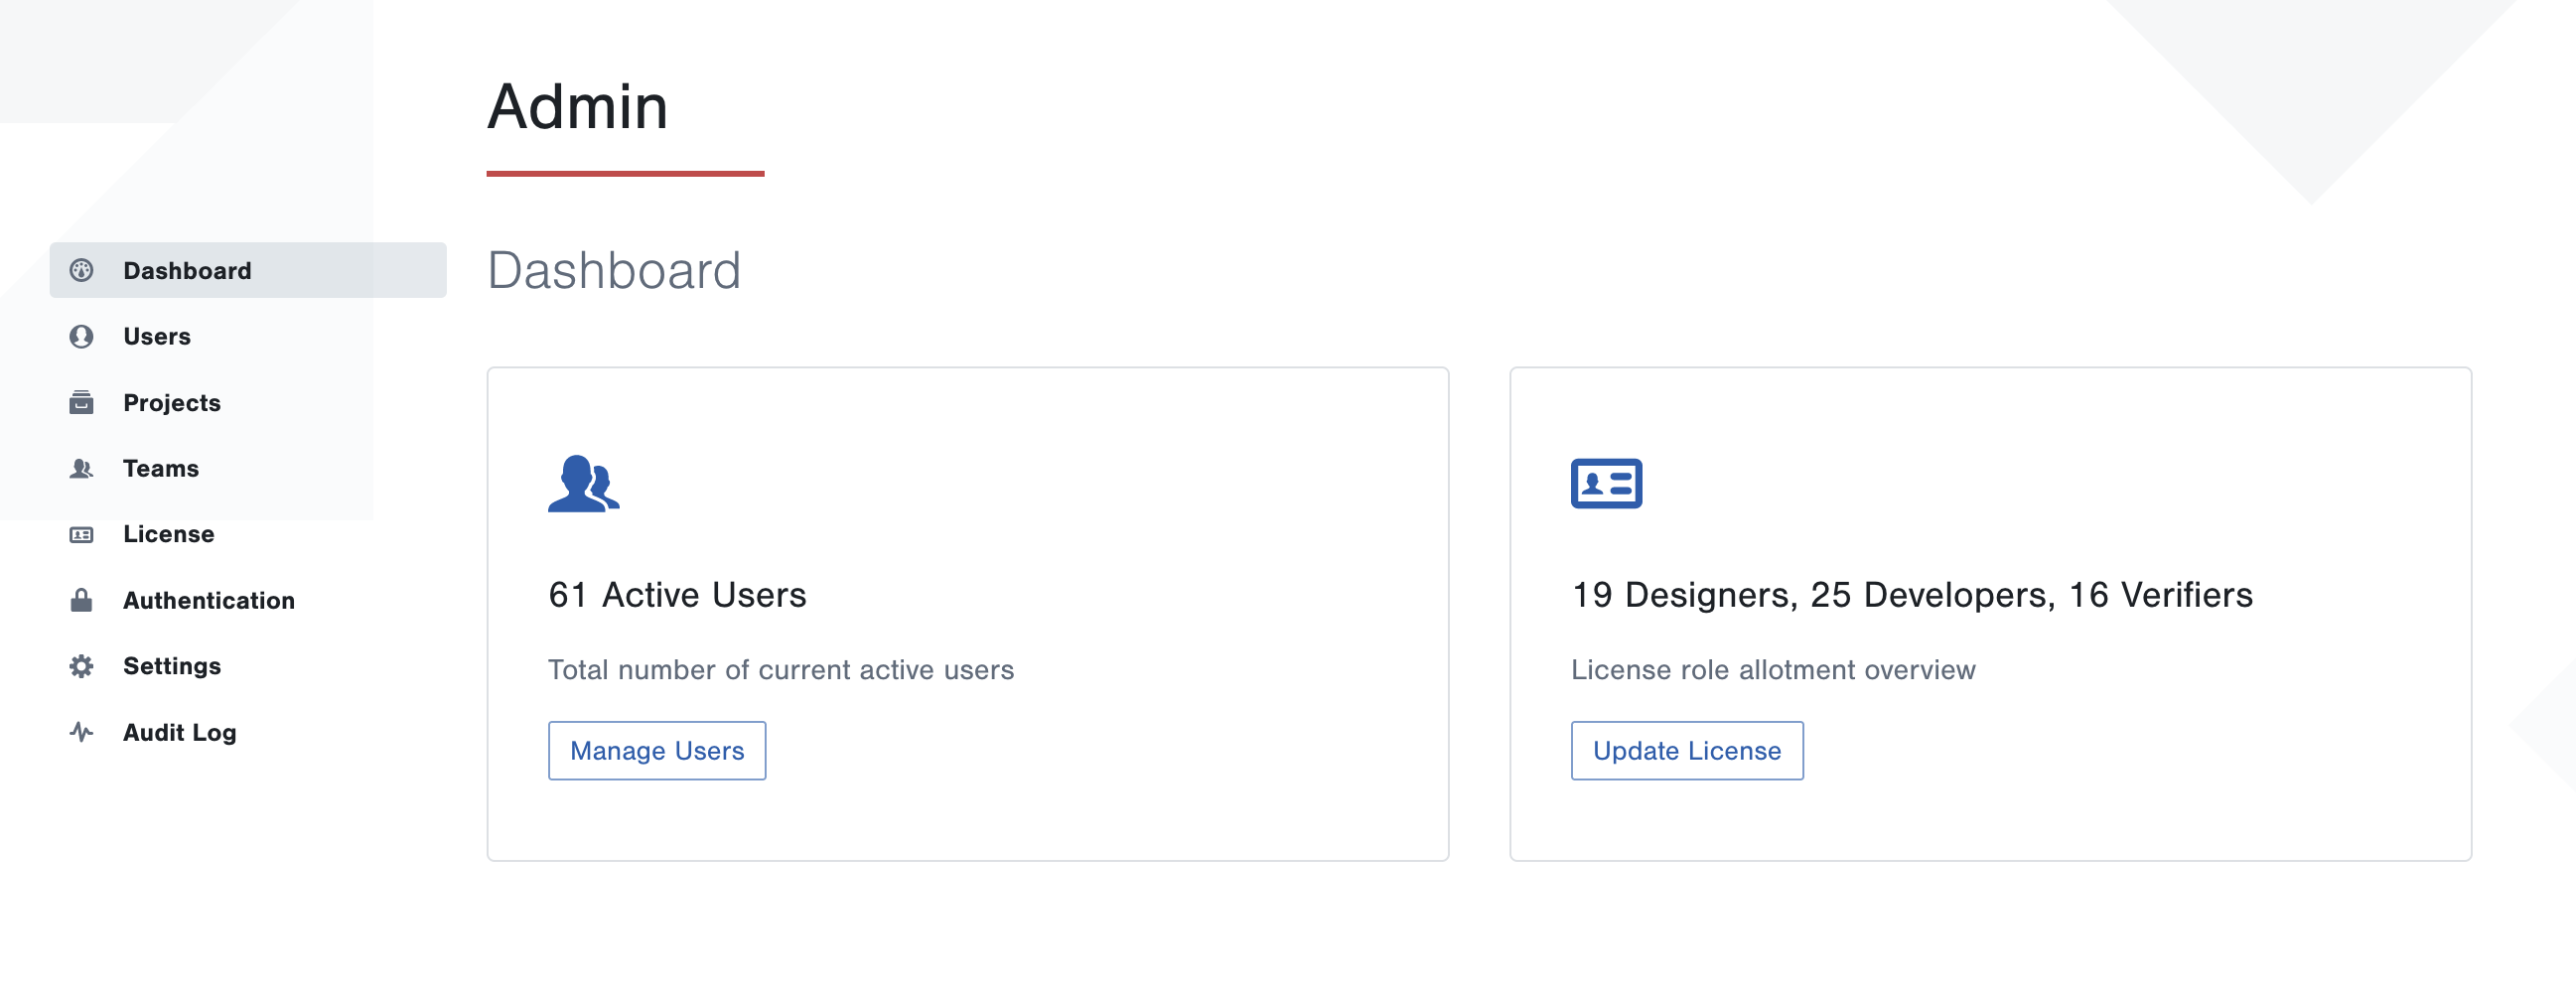
Dashboard
The System Administration Dashboard displays the total number of users and total number of seats, or licenses, in your installation of Tangram Pro™.
Users
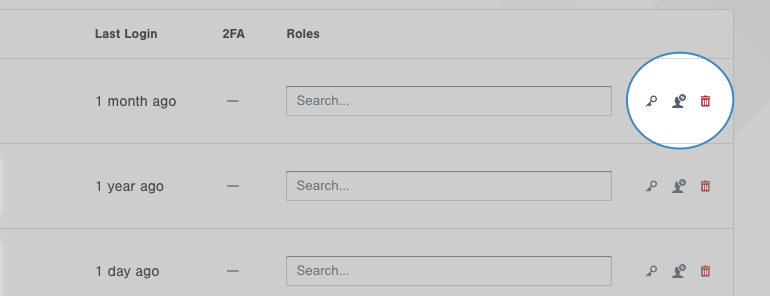
System Administrators can view a list of all users by clicking on the Users link in the Admin menu, and view details about each user, including the date of last login, their 2FA status, and system user role.
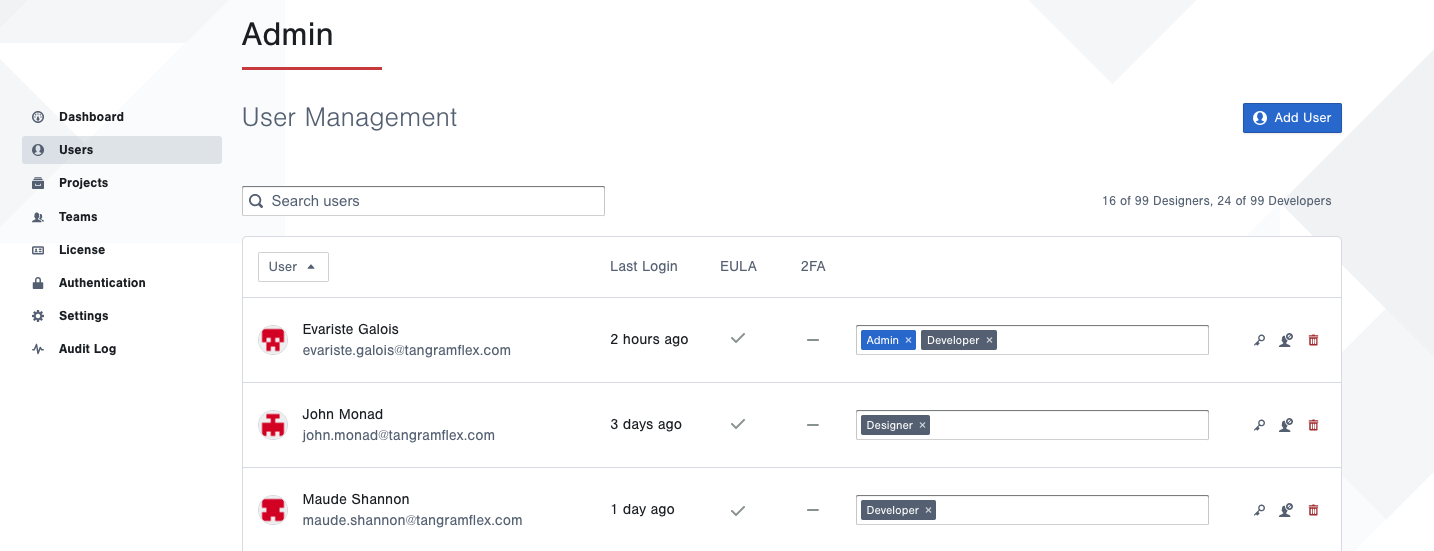
System Administrators can also change a user's role, reset their password, and deactivate or delete their account.
Add Users
- Go to Users and click the Add User button
- Enter user details:
- Name
- Email – A user's email domain may need to be whitelisted before you can add them. See Domain Whitelisting
- Username
- Password - This is a temporary password that the user will only use to log in for the first time. They will be prompted to create a new password.
- Click Add User
New users are added as a Basic account. To update their role see Change User Roles.
Reset User Passwords
System Administrators can set a new, temporary password for any user in the instance.
- Hover over a user's list item and click the Reset Password icon
- Enter a new temporary password
The entered password will be applied to the user's account, and the previous password is no longer valid.
Change User Roles
System Administrators can assign roles and administrative access to other users by clicking in the Role box
- Add Admin to grant administrative access
- Add Designer or Developer for Toolkit access
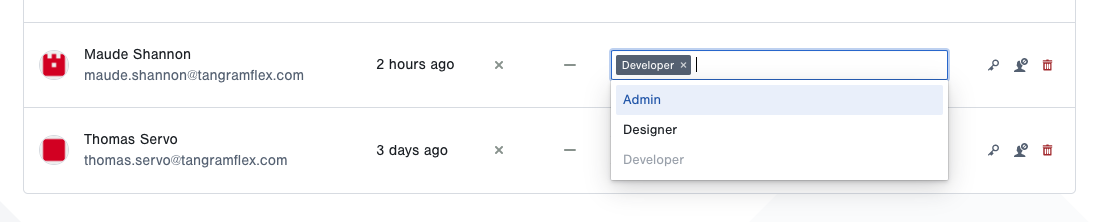
Assigning a role requires that at least one license seat is available for the given role.
Deactivate a User
Deactivating a Tangram Pro™ user is a reversible action a System Administrator may use to revoke a user's access to Tangram Pro™ without deleting their account or its associated data. Deactivated users are no longer able to log in to the instance.
Click the Deactivate User icon beside the user you wish to deactivate.
Deactivated users do not require licenses. When a System Administrator deactivates a user, a license is freed, and the deactivated user's seat is available.
Reactivate a User
A System Administrator may reinstate a deactivated user, enabling them to log in to the instance and access all of their data using their existing Tangram Pro™ account.
Click the Reactivate User icon beside the user you wish to reactivate.
Reactivating a user requires that at least one license is available in the Tangram Pro™ instance. If all licenses are in use, the Admin must add more or free an existing license by deactivating or deleting another user in the instance.
Delete a User
Deleting a Tangram Pro™ user is a permanent action which removes a user's account and removes their data from the instance. Deleted users are no longer able to log in to the instance and their account is removed entirely.
Users who are Team Owners cannot be deleted unless there is another owner for their team or the ownership of their team is transferred to another user in the instance.
To delete a user (when the user is not an owner of a team with no other owners)
- Click the Delete User icon beside the user you wish to delete
- Click Delete User in the confirmation modal
To delete a user (when the user is an owner of a team with no other owners)
- Click the Delete User icon beside the user you wish to delete
- Click in the Transfer Ownership field and type the name of another user you wish to tranfer ownership
- Click Select next to the user to whom team ownership will be transferred
- Click Transfer Ownership and Delete
Deleted users no longer use licenses. When a System Administrator deletes a user, their license is freed and their seat becomes available.
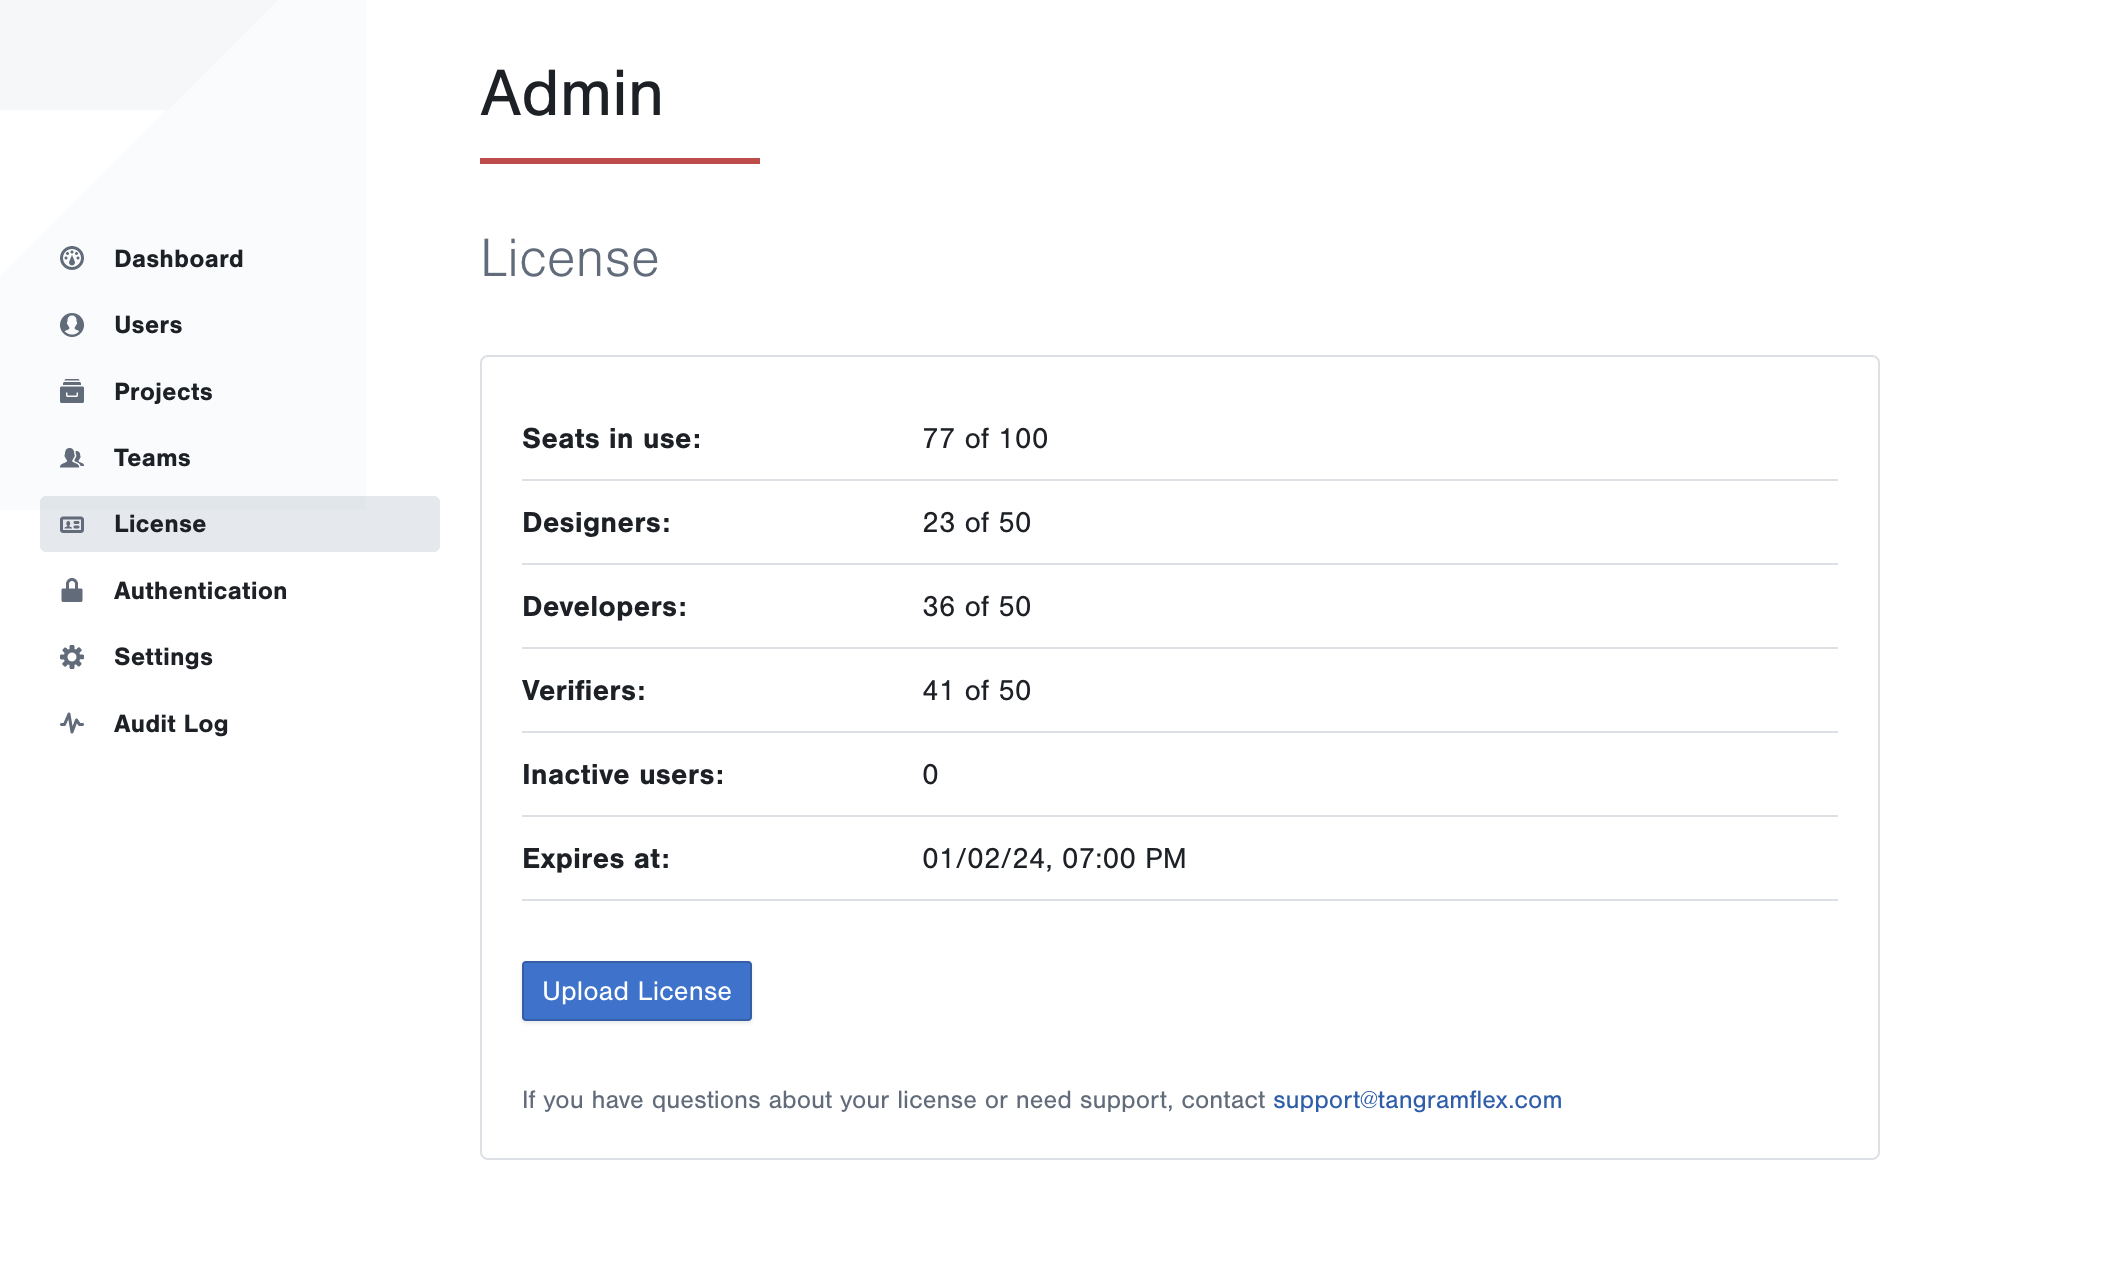
License
System Administrators can review details about current licenses and add more from the License page. Here you can view the total number of seats the instance has, how many seats are currently in use, how many inactive users exist in the instance, and the date and time at which the instance's current licenses will expire. Inactive users do not have licenses assigned to them and are not included in the Seats in Use count.
Upload Licenses
Tangram Flex provides new licenses in a file sent to System Administrators. These licenses are added to the instance by clicking Upload License.
To upload licenses
- Go to License
- Click Upload License. This will open your computer's file selector.
- Select the License File and click Open
The new license will be added to your instance. The number of available seats, and the expiration date and time will update to reflect the new license details included in the file.
Tangram Pro™ does not currently allow the purchase or generation of licenses from within the product. Please contact license@tangramflex.com for questions and support.
Authentication
System Administrators can manage 2FA, single sign-on, and user login notices from the Authentication page.
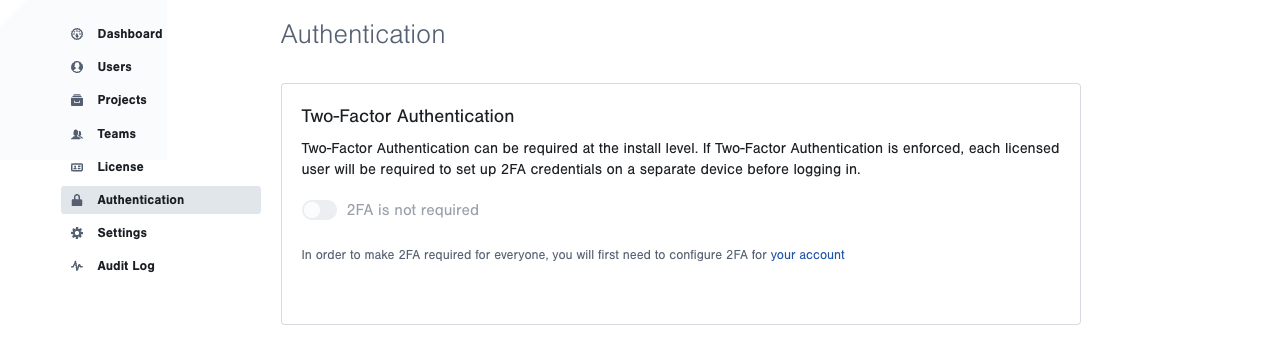
Require 2FA
System Administrators can require two-factor authentication (2FA) for all users of their Tangram Pro™ instance. This will require all new users to enable 2FA during signup, and existing users will be required to enable 2FA the next time they log in.
To require 2FA
- First you'll need to enable 2FA for your Admin account if it's not already. See Account and Profile: Managing 2FA
- Click on Authentication in the Admin menu
- Click on the Require 2FA toggle button
When 2FA is not required, Tangram Pro™ users will still have the option to enable two-factor authentication (2FA) for their accounts if they choose to.
Single Sign-On
System Administrators can configure single sign-on (SSO) authentication providers that users can use to login instead of entering their Tangram Pro™ password.
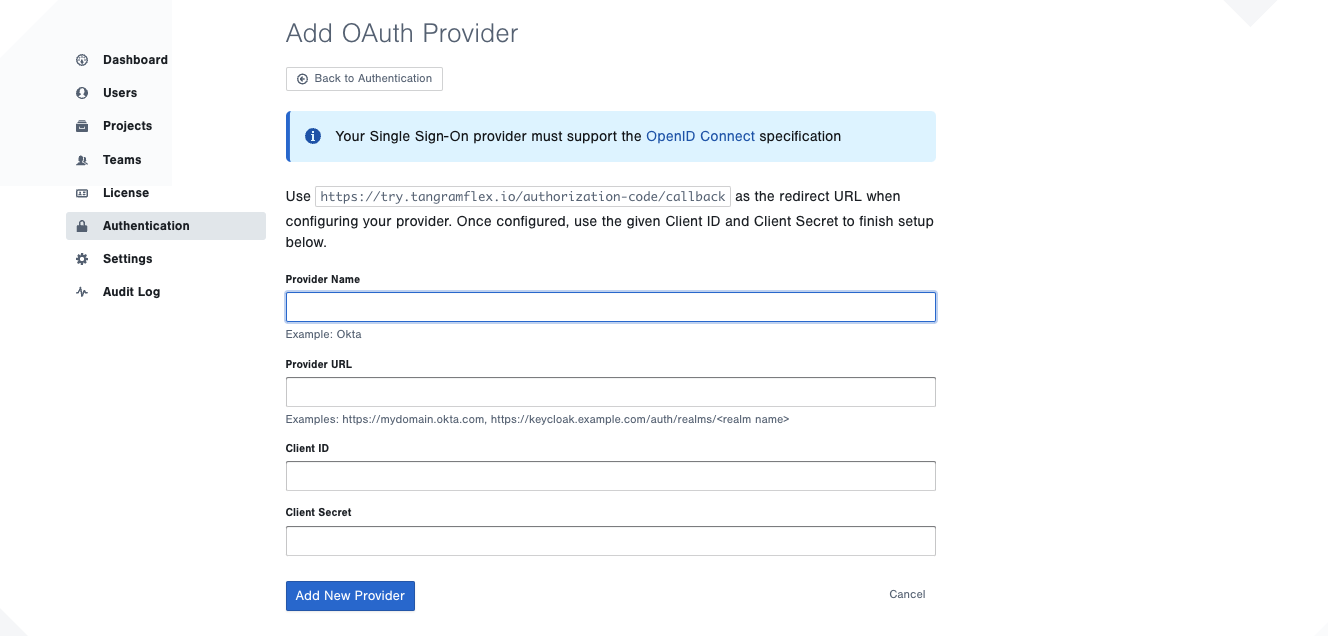
To add a single sign-on provider
- Go to Authentication and scroll to Single Sign-On Configuration
- Click Add Provider – here you will see the callback URL for your Tangram Pro™ instance
- In your SSO provider, add a new app/integration and use the provided redirect URL
- Capture the Client ID and Client Secret
- Complete the Add Provider form in Tangram Pro – enter a Name, the Provider URL, ID and Secret
- Click Add New Provider to save
Once added, Administrators can edit or remove the SSO provider as needed.
User Login Notice
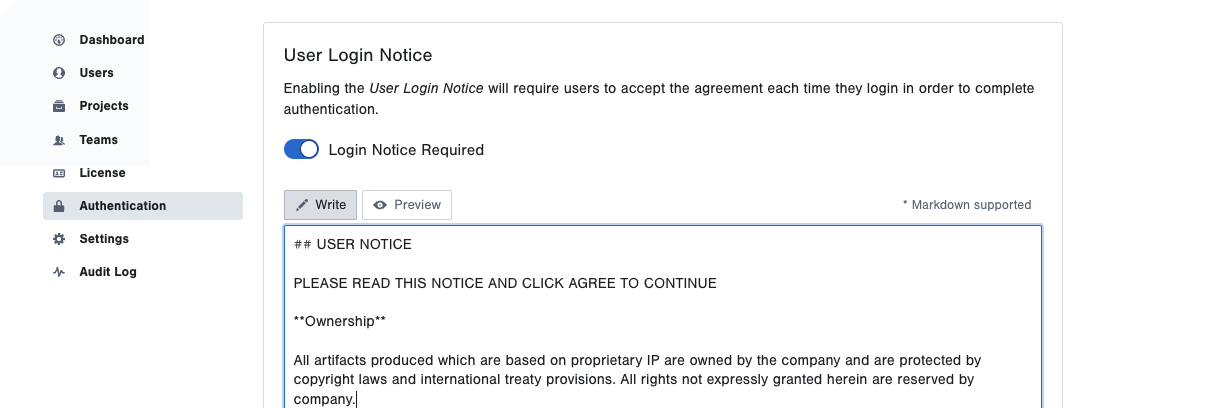
System Administrators can display a customizable notice to all users that log in to their Tangram Pro™ instance, which users must accept every time they login in order to access their account.
To enable the user login notice
- Go to Authentication and scroll to User Login Notice
- Click the Login Notice toggle button to enable it
- Enter your notice content in Markdown, and click the Preview button to see how it will look
- Click the Update Login Notice button to save changes
A notice will now be presented to any user that logs in to your instance.
Classification Banner
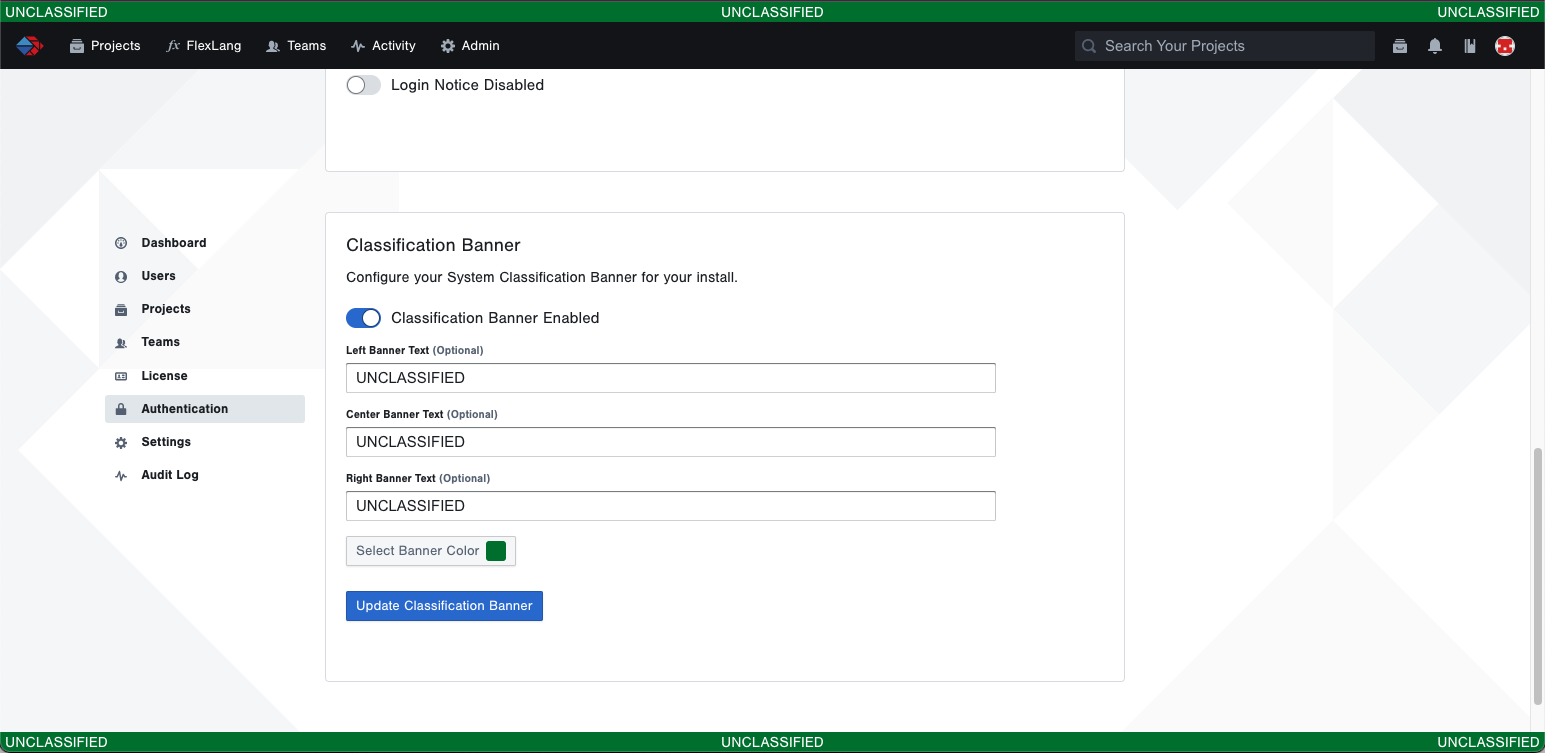
System Administrators can display a banner across the top and bottom of their Tangram Pro™ instance to indicate the highest level of classification present.
To enable the classification banner
- Go to Authentication and scroll to Classification Banner
- Click the toggle button to enable it
- Enter the text you wish to display inside the banner in one or more text positions: Left, Center, or Right. It should be specific to the highest level of classified information contained in your instance (e.g. UNCLASSIFIED, CONTROLLED, SECRET, etc)
- Select a banner color
- Click the Update Classification Banner button to apply your changes
A banner will now be displayed for all users and in all areas of your instance.
Settings
System Administrators can manage user signup, whitelisted domains, and SMTP configuration for email notifications from the Settings page.
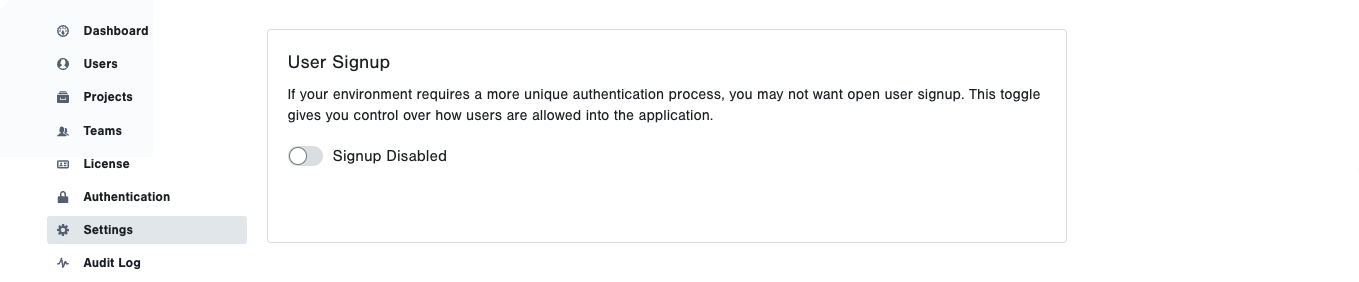
User Signup
Tangram Pro™ provides a Sign Up page for new users by default. This means that any person who navigates to your instance can create an account if their email domain is whitelisted. If your environment requires more control over user signup, or if you prefer to directly add users for license management purposes, you may disable this page.
To disable user signup
- Go to Settings
- Click on the Enable Signup toggle button
The toggle button and its message will update. The sign up page will no longer be accessible.
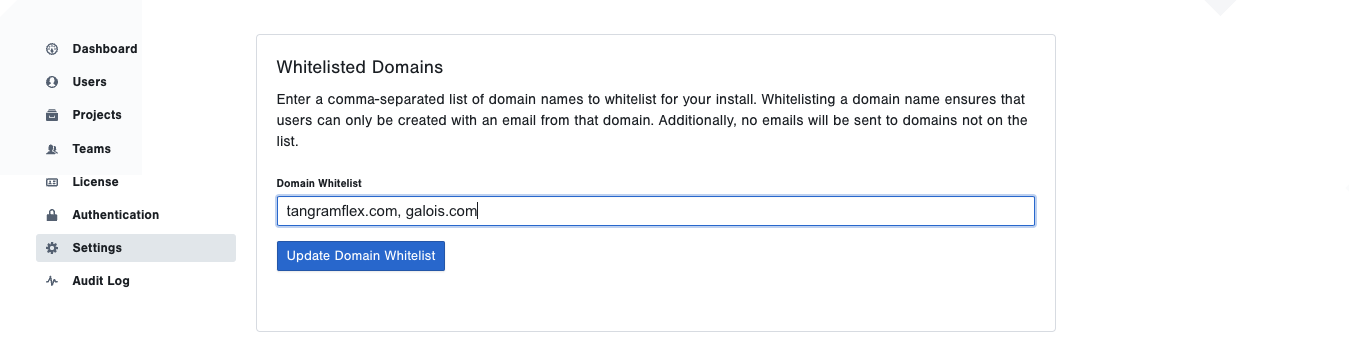
Domain Whitelisting
System Administrators can specify which email domains are acceptable for user accounts and for all emails sent out from their Tangram Pro™ instance.
If no are domains specified, user accounts can be created using any email domain. Invitations to Tangram Pro™ and notifications may be delivered to any email address.
To whitelist email domains
- Go to Settings
- Click in the Whitelisted Domains Text Field and type in the email domain(s) you wish to allow to be used for account creation, user invitations, and delivery of email notifications
- Click Update Domains
The Whitelisted Domains will be updated. An email address with one of the specified domains will be required when creating an account during signup and when adding users through System Administration. Email notifications will not be delivered to any email address that does not use a whitelisted domain.
If whitelisting multiple email domains, separate the domain list items with a comma
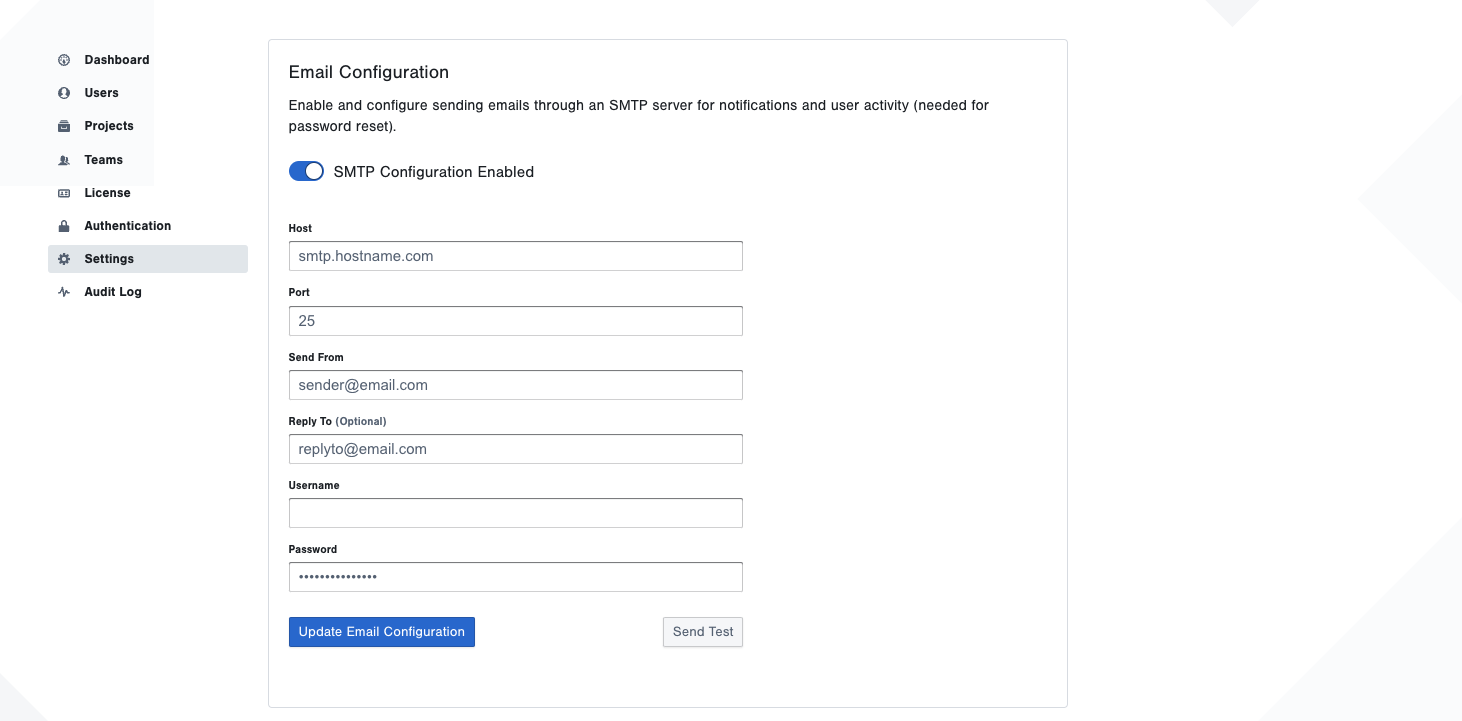
SMTP Email Configuration
Tangram Pro™ supports the use of SMTP for routing notification and invitation emails. If your organization has a hosted SMTP server, you can enable SMTP in Instance Settings and configure Tangram Pro™ to direct all notification emails to your server.
To set up SMTP email
- Click Settings from the System Administration menu
- Click on the Enable SMTP Configuration Toggle
- Enter your server Host, Port, Send From, Username, and Password credentials
- Click Test Send. This will send a test email to the address associated with your Tangram Pro™ account
- Click Update Email Configuration
The configuration is now saved and will be used for all emails in your Tangram Pro™ instance.